
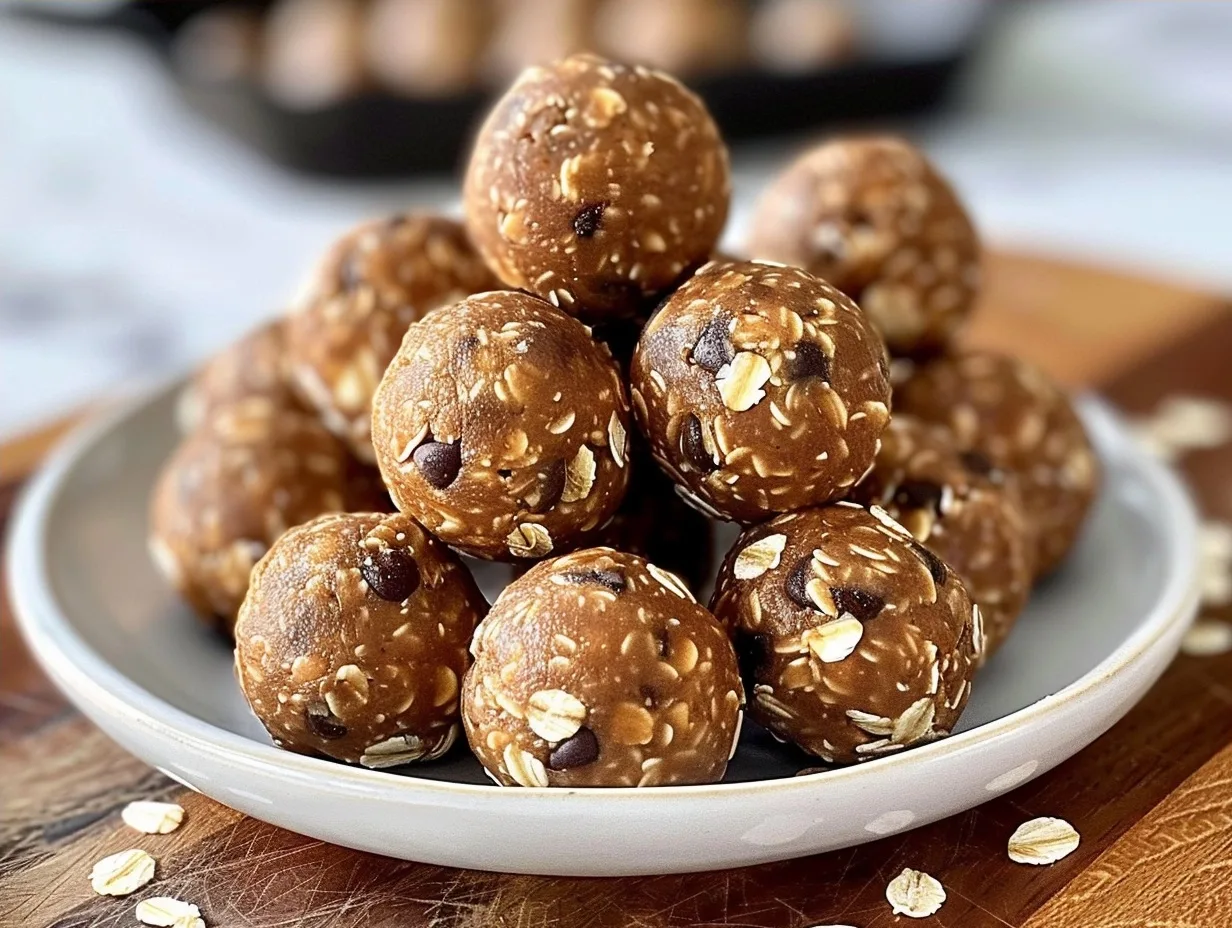
Craving a ridiculously easy, mouthwateringly delicious, and satisfyingly chewy snack? These No-Bake Protein Balls are your new best friend. Packed with wholesome goodness and a hint of chocolatey sweetness, they’re the perfect portable treat for busy days or a cozy afternoon pick-me-up.
Recipe Overview
Get ready for the easiest, most irresistible snack you’ll make all week. These No-Bake Protein Balls are unbelievably simple, coming together in minutes with just six feel-good ingredients. They’re soft, chewy, and bursting with flavor, making them a massive hit with everyone from kids to adults. Perfect for a quick breakfast on the go, a post-workout refuel, or a guilt-free dessert, these energy bites are a lifesaver for busy schedules. You’ll love having these homemade delights ready whenever a craving strikes!
| Prep Time | Cook Time | Total Time | Servings | Difficulty | Cuisine |
|---|---|---|---|---|---|
| 15 minutes | 0 minutes | 15 minutes (+ 1 hour chilling) | Approx. 20-24 balls | Super Easy | American |
Why You’ll Love This Recipe
- Effortless Preparation: Seriously, no baking required! Mix, scoop, roll, and chill. It’s that simple.
- Wholesome Ingredients: Made with pantry staples you probably already have on hand.
- Perfectly Portable: Ideal for lunchboxes, gym bags, or stashing in your desk drawer.
- Energizing Snack: Power through your day with sustained energy from protein and oats.
- Crowd-Pleaser Guaranteed: The combination of peanut butter, oats, and chocolate is pure magic.
- Customizable: Easily adaptable to your favorite flavors and dietary needs.
- Freezer-Friendly: Make a big batch and freeze for snacks weeks in advance.
Ingredients for Delicious No-Bake Protein Balls
Get ready to whip up these delightful energy bites with just a handful of simple ingredients. The magic happens when creamy peanut butter meets hearty oats, all brought together with a touch of sweetness and a burst of vanilla protein. These are the stars of our show, creating a texture and flavor profile that’s simply irresistible. Measuring is key for the perfect consistency, ensuring your balls hold their shape beautifully.
| Quantity | Ingredient | Notes |
|---|---|---|
| 1 1/2 cups | No Stir Creamy Peanut Butter | Regular creamy peanut butter works, but stir well if oily. Almond butter or cashew butter are great substitutes. |
| 1/2 cup | Honey | Maple syrup or agave nectar can be used for a vegan option. Adjust sweetness to taste. |
| 1 1/3 cups | Old Fashioned Oats (Rolled Oats) | Quick oats can make them mushy; steel-cut oats are too hard. Ensure they are rolled oats for the best texture. |
| 1/2 cup | Vanilla Protein Powder | Whey, casein, or plant-based vanilla protein powder all work well. Choose a brand you enjoy the taste of. |
| 1/8 teaspoon | Salt | Enhances the flavors and balances the sweetness. Sea salt or kosher salt are fine. |
| 1/2 cup | Mini Chocolate Chips | Dark, milk, or white chocolate chips are all delicious. Sugar-free or dairy-free options work too. |
How to Make No Bake Protein Balls
Follow these super simple steps to create your batch of delicious No Bake Protein Balls. Each step is designed for maximum ease and minimal fuss, ensuring perfect results every time. You’ll be amazed at how quickly these delightful energy bites come together, transforming simple ingredients into a powerhouse snack.
- Combine Ingredients
Add the no-stir creamy peanut butter, honey, rolled oats, vanilla protein powder, salt, and mini chocolate chips to a large mixing bowl. Use a sturdy rubber spatula or a wooden spoon to mix everything thoroughly until all the ingredients are completely incorporated and the mixture is uniform. Ensure no dry pockets of protein powder remain.
- Portion Out Energy Balls
Line a baking sheet or a large plate with wax paper or parchment paper. Use a mini cookie scoop (about 1-tablespoon size) or a regular spoon to portion out the mixture. Drop rounded scoops of the dough onto the prepared baking sheet. This ensures each ball will be roughly the same size for even chilling.
- Shape the Energy Balls
Once all the mixture is scooped, use your hands to gently roll each portion into a compact ball. If the mixture is too sticky, lightly dampen your hands with water or a touch of oil. Aim for smooth, firm spheres that will hold their shape when chilled.
- Chill in the Refrigerator
Carefully place the baking sheet containing the shaped energy balls into the refrigerator. Let them chill for at least one hour. This step is crucial for allowing the ingredients to meld and the balls to firm up, making them perfectly chewy and easy to handle.
- Store Your Energy Balls
After chilling, your No Bake Protein Balls are ready to enjoy! To store, transfer the hardened balls into an airtight container or a resealable Ziploc bag. They will keep fresh in the refrigerator for about one week. For longer storage, freeze them for up to two to three months, enjoying them straight from the freezer.
- Explore More Recipes!
Dive into more deliciousness with my Energy Bites Cookbook, featuring this base recipe plus over 20 other creative flavors you’ll absolutely adore! It’s the perfect resource for expanding your no-bake treat repertoire.
Pro Tips for the Best Results
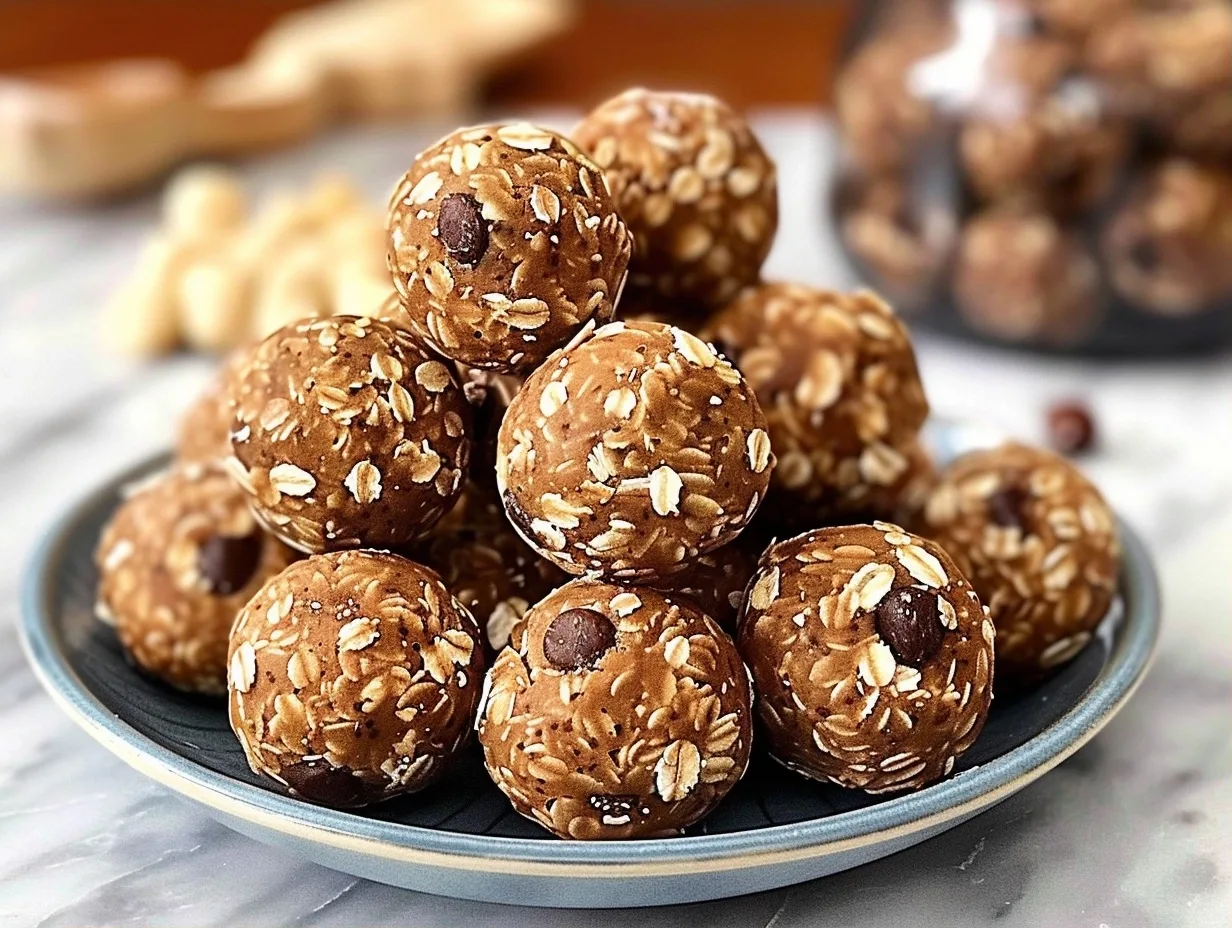
Achieving snack perfection is all about a few key details. These tips will elevate your No-Bake Protein Balls from good to absolutely amazing, ensuring a delightful texture and consistent flavor every single time you make them. Follow these insider secrets for snack success.
- Texture is Key: For the chewiest bites, stick to old-fashioned rolled oats. Quick oats absorb too much moisture and can lead to a crumbly texture. If your mixture feels too dry, add a teaspoon of milk or water at a time until it’s pliable.
- Don’t Skip the Chill: Chilling is non-negotiable. It allows the oats to soften slightly and the fats to firm up, ensuring your balls hold their shape and don’t become a sticky mess.
- Scoop Consistency: Using a mini cookie scoop (about 1 tablespoon) ensures uniform size, which helps them chill and store evenly. It also gives them that professional, bakery-quality look.
- Moisture Matters: Peanut butter brands vary significantly in oil content and thickness. If your mixture seems unusually dry or crumbly, add a touch more honey or a splash of milk. If it’s too wet, add a tablespoon more oats or protein powder.
- Rolling Technique: Roll them firmly but don’t overwork the dough, as this can make them tough. A slightly damp hand can prevent sticking if the mixture is particularly gooey.
- Ingredient Quality: Using a protein powder you genuinely enjoy the flavor of is paramount, as it significantly contributes to the overall taste. Similarly, good quality peanut butter makes a difference.
Delicious Variations
Ready to shake things up? These No-Bake Protein Balls are incredibly versatile. Here are some fun ways to customize them to your taste preferences and dietary needs, ensuring endless snack possibilities. Get creative and make them your own!
- Nut-Free Option: Swap peanut butter for sunflower seed butter or tahini. Ensure your protein powder is also nut-free.
- Chocolate Lover’s Dream: Add 1-2 tablespoons of unsweetened cocoa powder to the mixture. You can also use dark chocolate chips for an extra rich flavor.
- Fruity Burst: Stir in 1/4 cup of dried cranberries, chopped dried apricots, or raisins for a sweet and tart chew.
- Spice it Up: Add 1/4 teaspoon of cinnamon and a pinch of nutmeg for a warm, cozy flavor.
- Seed Power: Mix in 1-2 tablespoons of chia seeds or flax seeds for added fiber and omega-3s.
- Coconut Delight: Incorporate 1/4 cup of shredded unsweetened coconut for a tropical twist.
- Low Carb/Keto Friendly: Use a keto-friendly protein powder, sugar-free sweetener (like erythritol or monk fruit) instead of honey, and sugar-free chocolate chips. You might need to adjust the liquid content slightly.
What to Serve With It
While these No Bake Protein Balls are a perfect standalone snack, they pair wonderfully with other treats and beverages for a more complete experience. Think of them as the healthy highlight to a delightful spread.
- Fresh Fruit: A side of berries (strawberries, blueberries, raspberries) or sliced apples provides a refreshing contrast to the chewy sweetness of the balls. The natural sugars and nutrients complement the energy boost perfectly.
- Yogurt Parfait: Layer Greek yogurt with granola and some of these protein balls for a hearty breakfast or snack. The creamy yogurt balances the chewiness beautifully.
- Smoothies: Blend them into your favorite smoothie for an extra protein punch and thicker texture. They’re a fantastic addition to any fruit smoothie recipe.
- Coffee or Tea: Enjoying a protein ball with your morning coffee or afternoon tea is a classic pairing. The comforting warmth of the beverage contrasts nicely with the cool, chewy snack.
- Milk: A cold glass of milk (dairy or non-dairy) is an excellent companion, especially for kids. It makes the snack even more satisfying.
Storage & Reheating
Proper storage is key to keeping your delicious No Bake Protein Balls fresh and ready to eat. They are designed for convenience, and thankfully, they hold up beautifully. You can confidently make a large batch knowing they’ll stay tasty for quite some time. They are perfectly fine to enjoy directly from the refrigerator or freezer, requiring no reheating.
For optimal freshness, store your completed energy balls in an airtight container or a resealable zip-top bag. They will maintain their delightful texture and flavor in the refrigerator for approximately one week. If you want to have snacks on hand for longer, freezing is your best bet. Place them in a freezer-safe bag or container, and they can be stored for up to two to three months. When you crave one, simply pull it from the freezer and let it sit at room temperature for a few minutes, or enjoy it slightly frozen for a firmer bite. No reheating is ever necessary!
FAQ Section
Can I use different types of peanut butter?
Yes, you can use natural peanut butter, but ensure it’s well-stirred as oil separation can affect consistency. Crunchy peanut butter adds a nice textural element. If it’s too oily, you may need to drain some oil.
What happens if my mixture is too sticky to roll?
If the mixture is too sticky, lightly dampen your hands with water or a tiny bit of neutral oil before rolling. Alternatively, you can add a tablespoon more oats or protein powder, but be careful not to make it too dry.
How long do these No Bake Protein Balls last?
Stored properly in an airtight container in the refrigerator, these protein balls will stay fresh and delicious for about one week. For longer storage, they can be frozen for up to 2-3 months.
Can I make these vegan?
Absolutely! Substitute the honey with maple syrup, agave nectar, or another liquid plant-based sweetener. Ensure your protein powder is also vegan.
Why are my protein balls crumbly?
Crumbly protein balls usually result from a mixture that is too dry. This can happen if you use too much dry ingredient (like protein powder or oats) or not enough binder (like peanut butter or honey). Try adding a teaspoon of milk or water to moisten the dough.
Can I substitute the oats?
While rolled oats provide the best chewy texture, you could experiment with finely chopped nuts or seeds for a different bite. However, oats are integral to the classic texture and binding of these energy balls.
Conclusion
There you have it – the ultimate guide to making incredibly satisfying No Bake Protein Balls! These little powerhouses are more than just a snack; they’re a delicious solution for busy lives, a comforting treat, and a testament to how simple ingredients can create pure joy. Their perfect balance of chewy oats, creamy peanut butter, and a hint of sweetness makes them utterly irresistible. Whether you need a quick breakfast boost, a pre-workout pick-me-up, or a healthy dessert option, these are sure to become a staple. Happy snacking, and enjoy every perfect, no-bake bite!
Print
No Bake Protein Balls
- Total Time: 75
- Yield: 20-24 balls
- Diet: Vegetarian
Description
These no-bake protein balls are soft, chewy, and packed with wholesome oats, peanut butter, and chocolatey goodness. A quick, customizable snack perfect for any time of day.
Ingredients
1 1/2 cups no-stir creamy peanut butter
2 cups old-fashioned rolled oats
1 scoop chocolate vanilla whey protein powder
1/2 cup dark chocolate chips
1/3 cup honey
1 tsp pure vanilla extract
Instructions
In a large bowl, mix peanut butter, honey, and vanilla until smooth
Fold in oats, protein powder, and chocolate chips until fully combined
Cover and refrigerate for 1 hour
Scoop and roll mixture into 20-24 bite-sized balls
Store in an airtight container in the fridge or freezer
Notes
Use a spatula to pack mixture tightly for better structure
Substitute protein powder with cocoa powder for a vegan option
Chill until firm for best results
- Prep Time: 15
- Category: Desserts & Sweets
- Method: No-bake
- Cuisine: American