
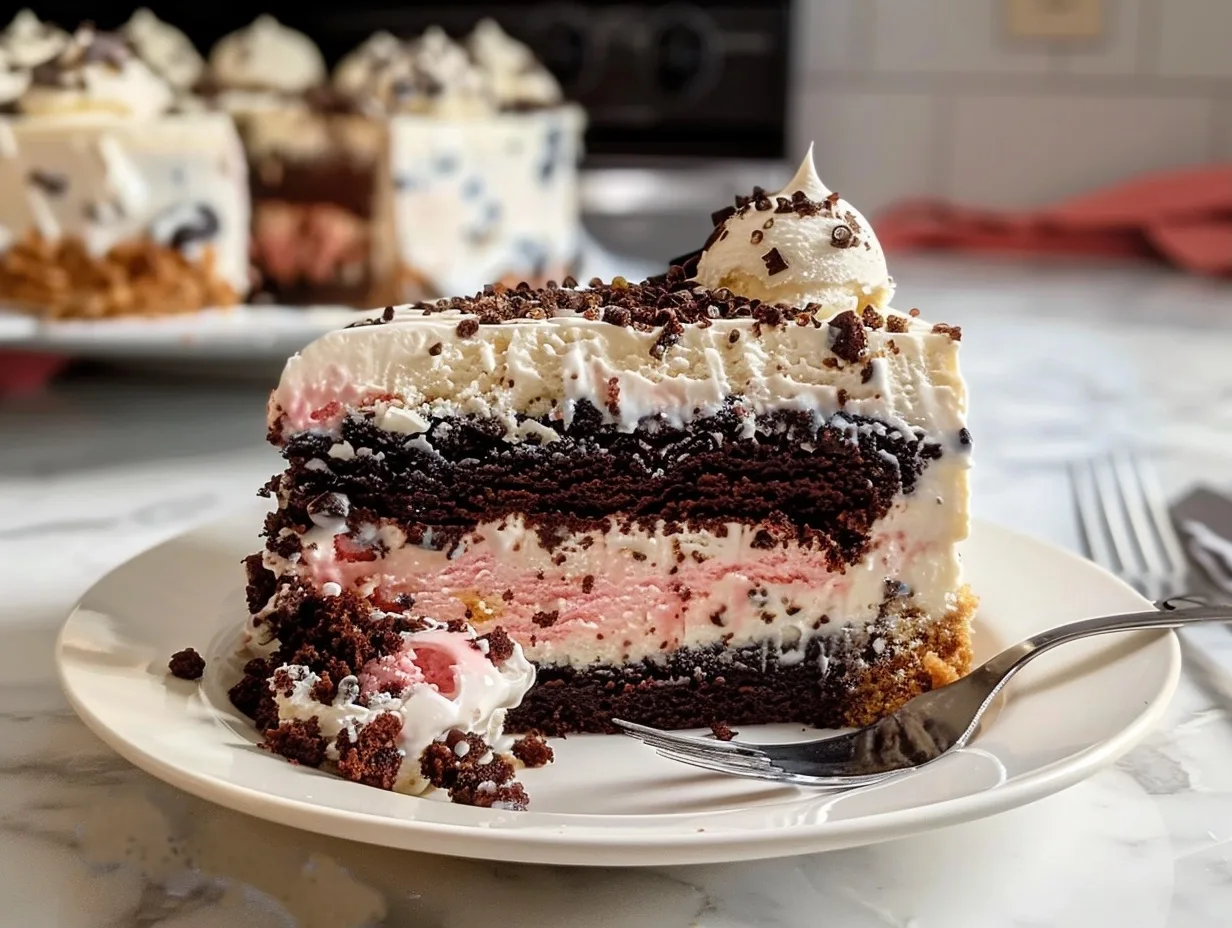
Creating an easy ice cream cake at home gives you a decadent, frozen dessert that tastes like a professional bakery creation. This recipe balances rich chocolate cake, creamy cookie-filled ice cream, and decadent fudge into one mouthwatering treat that melts perfectly on your tongue. Achieving this indulgence is surprisingly simple, making it the perfect centerpiece for birthdays, summer gatherings, or a cozy weekend treat.
Recipe Overview
| Prep Time | Cook Time | Total Time | Servings | Difficulty | Cuisine |
|---|---|---|---|---|---|
| 20 mins | 20 mins | 2 hrs 40 mins | 8-10 | Easy | American |
Why You’ll Love This Recipe
- This recipe utilizes simple, store-bought staples for quick preparation.
- The combination of fudge, chocolate cake, and crunchy cookies is a timeless favorite.
- It is fully freezer-friendly, allowing you to prepare it days in advance.
- Customization is effortless, letting you swap ice cream flavors to match any holiday.
- It avoids the high cost of bakeries while delivering superior flavor.
Ingredients You Will Need
| Quantity | Ingredient | Notes |
|---|---|---|
| 1 layer | Chocolate Cake | Box mix or pre-baked layer |
| 1.5 quarts | Cookie Ice Cream | Slightly softened for spreading |
| 1 cup | Chocolate Fudge Sauce | Thick, high-quality variety |
| 12 count | Oreos | Crushed for texture |
| 2 cups | Heavy Cream | Keep chilled for whipping |
| 1/4 cup | Confectioner’s Sugar | Adjust for desired sweetness |
| 1.5 tsp | Vanilla Extract | Use pure extract for depth |
How to Make This Easy Ice Cream Cake
Preparing the Foundation
- Line an 8-inch cake pan with plastic wrap and scoop softened ice cream into the pan.
- Spread the ice cream into an even layer, cover, and freeze for 2 hours until solid.
- Bake or prepare your 8-inch chocolate cake layer according to package instructions and cool it completely.
Assembling the Layers
- Place the cooled chocolate cake on a flat serving plate.
- Spread a layer of chocolate fudge sauce over the cake, leaving a half-inch border.
- Sprinkle the crushed Oreos over the fudge layer.
- Remove the ice cream layer from the pan and place it directly over the cookie-topped cake.
- Wrap the assembly loosely in plastic and return it to the freezer while you whip the cream.
Frosting and Finishing
- Combine cold heavy cream, sugar, and vanilla in a chilled bowl.
- Beat until soft peaks form, being careful not to over-whip the cream into butter.
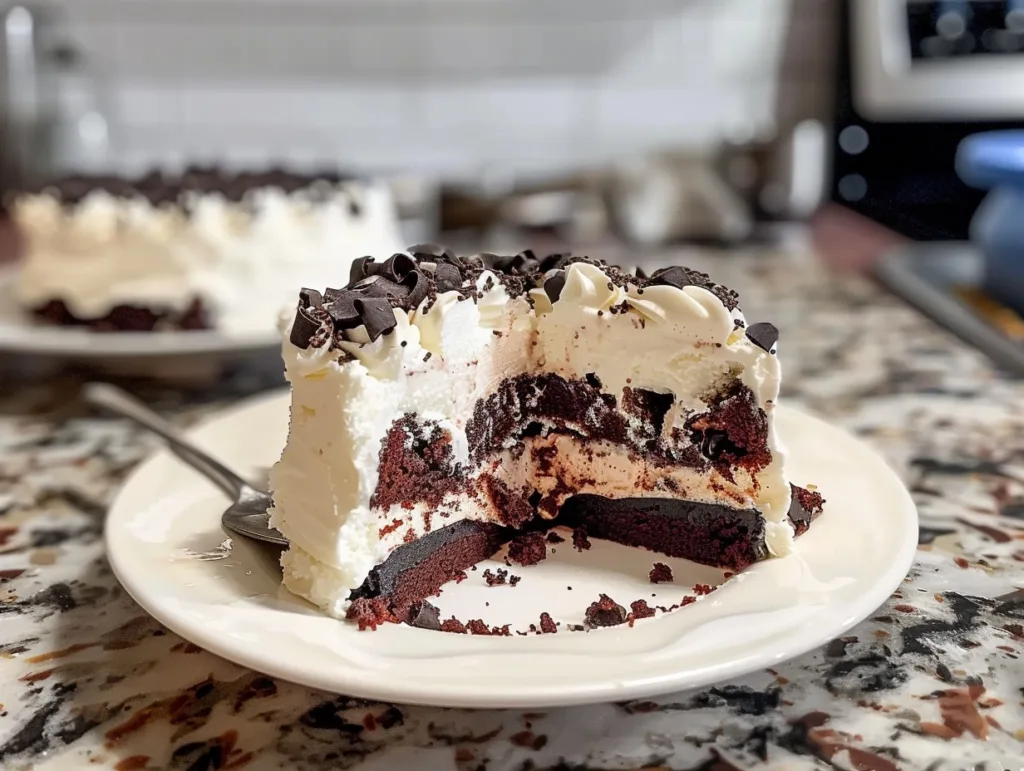
- Remove the cake from the freezer and frost the exterior with the whipped cream.
- Use a piping bag to create a decorative edge and garnish with extra cookie crumbs.
Pro Tips for the Best Results
Always keep your mixing bowl and heavy cream in the refrigerator until the very moment you start whipping. A cold bowl ensures the cream stabilizes quickly, creating fluffier peaks. Feel free to toast your cookie crumbs slightly if you want an extra layer of depth. If the ice cream feels too melty, put it back in the freezer for an additional thirty minutes before assembly.
Delicious Variations
Swap the cookie ice cream for mint chip if you prefer a refreshing finish. For a nutty twist, add a layer of peanut butter sauce underneath the fudge. You can make this gluten-free by using a gluten-free chocolate cake base and checking that your cookie choice is also gluten-free. Try replacing the chocolate cake with a brownie base for an even denser, richer texture.
Storage and Reheating
This cake is best kept in the freezer at all times. To store it for up to one week, ensure it is wrapped tightly in plastic wrap to prevent freezer burn. When you are ready to serve, take the cake out of the freezer and let it sit at room temperature for ten to fifteen minutes. This rest period softens the ice cream just enough to make slicing clean and easy without turning the whole dessert into a puddle.
Frequently Asked Questions
Can I make this cake a day in advance?
Yes, this recipe is perfect for making up to two days in advance. Simply keep it tightly wrapped in the freezer until your guests arrive.
What is the secret to clean slices?
Run a sharp knife under hot water and wipe it dry before each cut. The heat from the blade glides through the frozen ice cream layers effortlessly.
Can I use a different size cake pan?
You can use a 9-inch pan, but your cake layers will be thinner. Adjust your freezing time accordingly as thinner layers may firm up faster.
How do I fix over-whipped cream?
If your cream turns grainy, it has been over-mixed. You can often save it by whisking in a tablespoon or two of liquid heavy cream by hand until it regains smoothness.
Is homemade fudge sauce necessary?
Store-bought jarred sauce works perfectly fine for this easy recipe. Ensure it is at room temperature so it spreads easily without dragging the cake crumbs.
Can I add fruit to this recipe?
Fresh berries work beautifully as a topping. Add them right before serving to keep them fresh and avoid freezer damage.
Conclusion
Bringing this easy ice cream cake to your next gathering is a guaranteed way to delight your friends and family. It combines the comfort of a classic chocolate dessert with the irresistible, cooling joy of high-quality ice cream. The best part of this recipe is how manageable it is, allowing you to spend more time celebrating and less time stuck in the kitchen. Whether you are hosting a summer birthday bash or simply craving a sweet frozen treat on a Tuesday night, this cake delivers every single time. Grab your favorite ice cream flavor, pick up some cookies, and get ready to impress everyone with your homemade skills. You will love how simple and satisfying this assembly process is. Now, go ahead and treat yourself to the perfect slice of heaven!
Print
The Best Easy Ice Cream Cake
- Total Time: 160
- Yield: 8-10 servings
- Diet: Vegetarian
Description
Create a professional bakery-style ice cream cake at home with this simple and indulgent recipe. Featuring a rich chocolate cake base, layers of creamy cookie-filled ice cream, velvet fudge, and a light whipped cream topping, this dessert is perfect for any celebration. It is easy to assemble, freezer-friendly, and infinitely customizable for any occasion.
Ingredients
1 layer 8-inch chocolate cake
1.5 quarts cookie ice cream, slightly softened
1 cup chocolate fudge sauce
12 Oreos, crushed
2 cups heavy whipping cream, chilled
1/4 cup confectioner’s sugar
1.5 tsp pure vanilla extract
Instructions
Line an 8-inch cake pan with plastic wrap and spread softened ice cream into an even layer, freeze for 2 hours until solid.
Bake or prepare the 8-inch chocolate cake layer and allow it to cool completely.
Place the cooled cake on a serving plate.
Spread the chocolate fudge sauce over the cake layer, leaving a half-inch border from the edge.
Sprinkle the crushed Oreos uniformly over the fudge.
Remove the ice cream layer from the pan and carefully place it on top of the cookie-covered cake.
Return to the freezer while preparing the whipped cream.
Beat the chilled heavy cream, confectioner’s sugar, and vanilla extract until soft peaks form.
Frost the exterior of the cake with the whipped cream and return to the freezer until ready to serve.
Notes
Ensure the cake is completely cool before assembling to prevent the ice cream from melting prematurely. You can prepare this cake up to 3 days in advance and keep it stored in the freezer covered tightly with plastic wrap. Feel free to swap the cookie ice cream for any flavor you enjoy like mint chip or strawberry.
- Prep Time: 20
- Cook Time: 20
- Category: Desserts & Sweets
- Method: Baking and Assembly
- Cuisine: American